
21st of May 2023
BattleDuke 2 by Sanek
BattleDuke 2 is a sequel, or the second episode if you will, to BattleDuke, released about a year ago. The recipe is more or less the same: Fight what seems like an endless amount of buffed miniboss Battlelords and find keys to open the way to the Nukebutton (always guarded by a few more Battlelords because why not?). The maps are a varied bunch with some providing more room for evading the enemy and others compelling you to fight it.
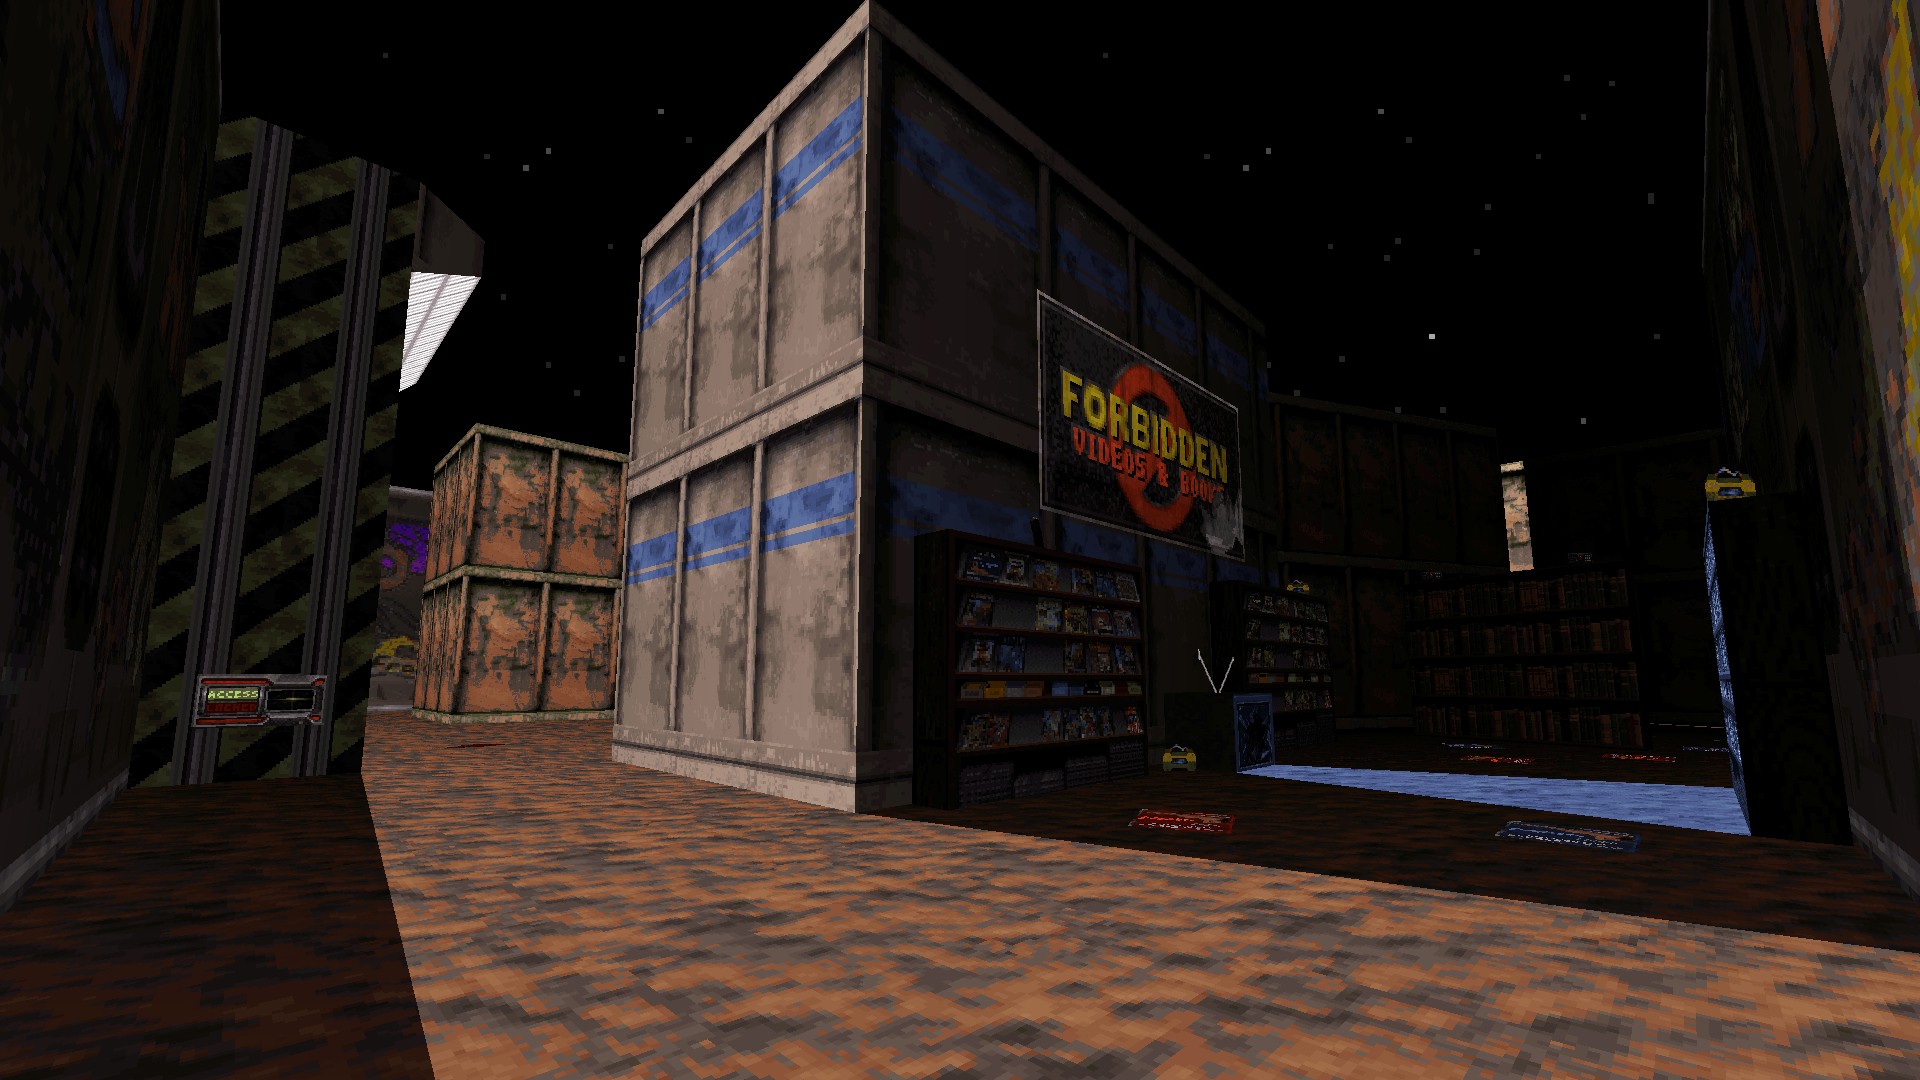
The battle begins with a junkyard themed map, Garbage Carnage (26 minutes). This is quite easily the hardest map in the episode, as you start without weapons and have to get re-oriented to BattleDuke's mechanics. You get some clues to the whereabouts of the weapons, but with Battlelords lurking behind every corner, you have to advance in a piecemeal fashion. The map is very prone to trial and error (and thus to saving and reloading), as a single wrong turn can mean getting shot to death in a split second. By the time you have acquired the RPG & the Devastator you'll have a dozen Battlelords chasing you. Trying to get them where you want is tricky because of the map's mazey layout. You also need to be aware of when it's safe to save, as the enemy tends to get scattered and could be anywhere. I found little use for tripmines and totally missed the Freezer (until coming back to the map later). Design is cool though; the landscape is littered with waste containers, and lights scattered around the area cast some nice dramatic beams through spaces between the containers. Also kudos for the use of the junkyard theme from Earthworm Jim, one of the classics of the 16-bit era (both the game and the soundtrack).
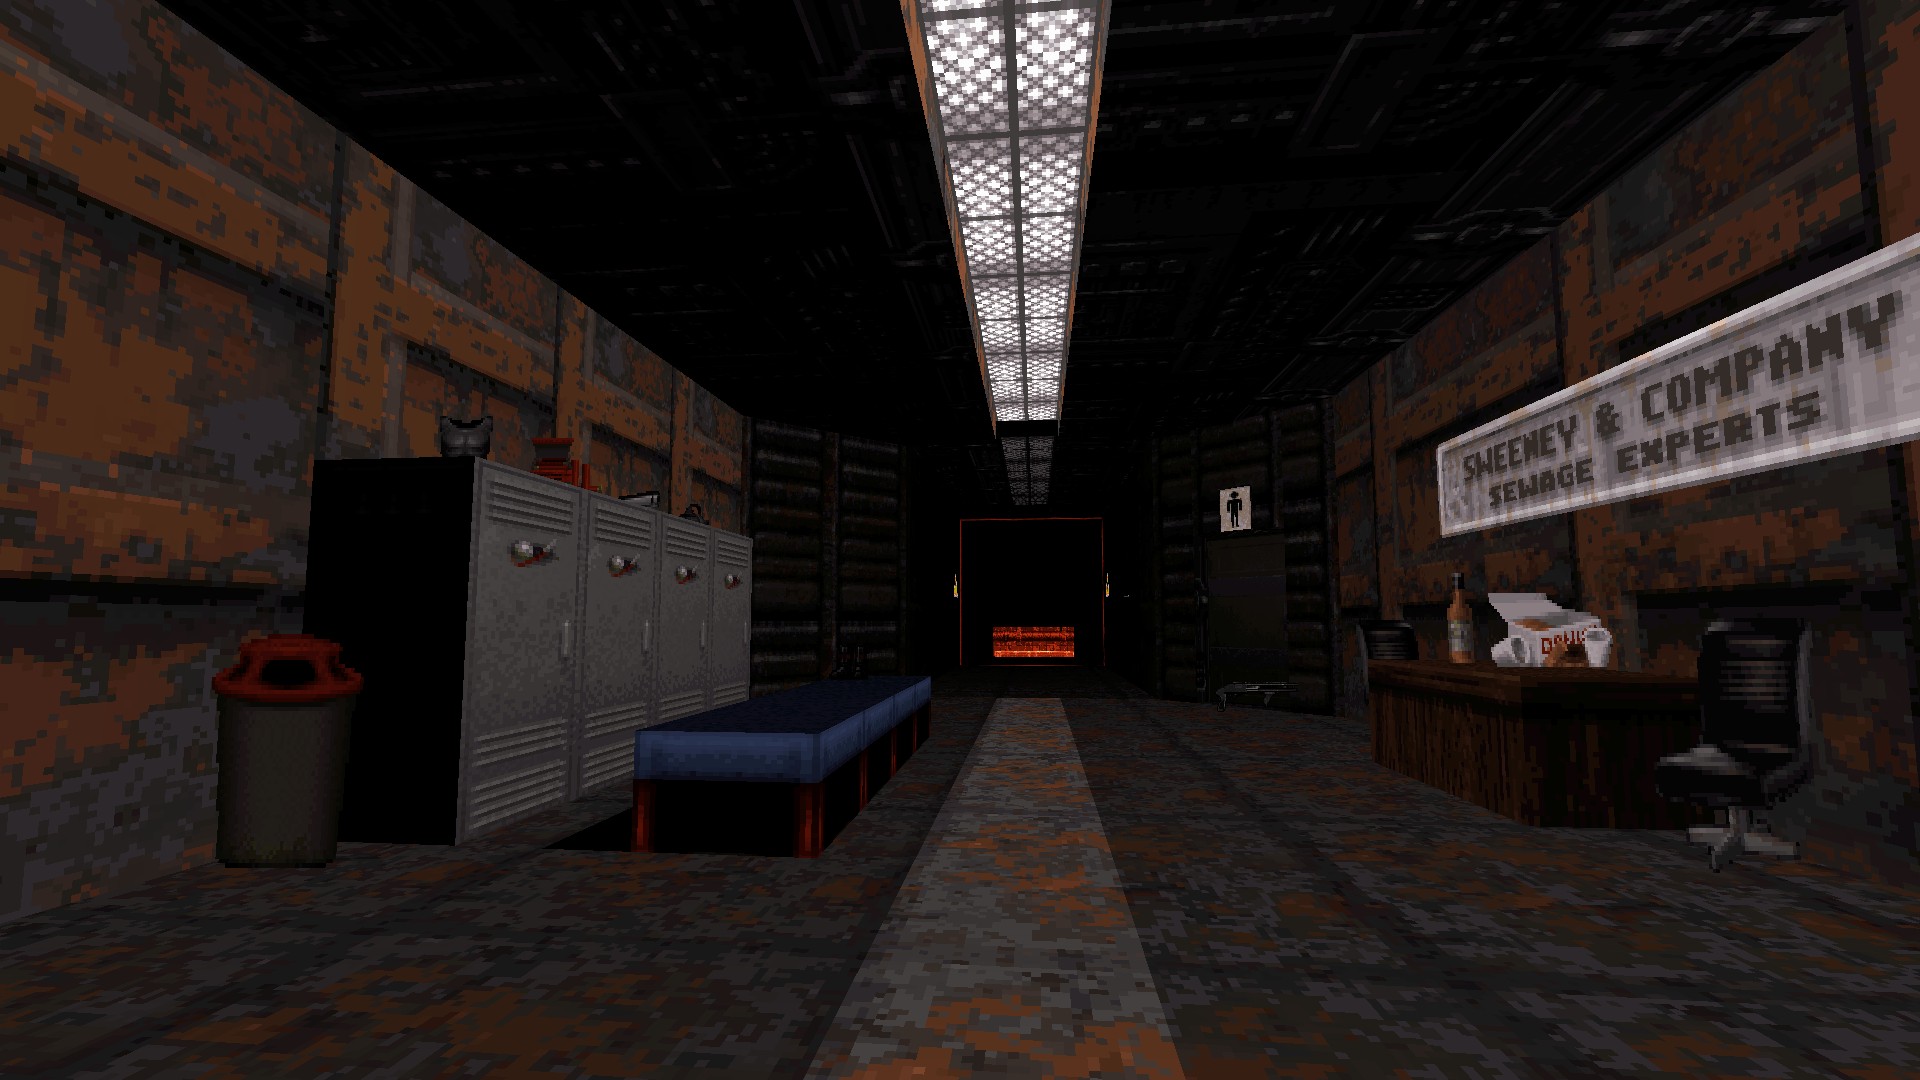
Red Sweeney (10 minutes) is a small symmetrical hi-tech area with narrow hallways. There's a Battlelord on a spinning platform in the middle; taking him down is too tricky and time consuming as he just won't stay put in one place and often glitches on and off the spinning sector. The layout is a bit tedious; there aren't really any obstacles between you and the enemies, so you have to rely on corners for cover. I also found herding difficult and, this being the second map, still struggled with ammunition (but at least I finally found the Freezer), which made it a challenge to take the enemies down one by one. As a result I entered the short but cramped underground sector before I had cleared the upper floor, a mistake I found hard to avoid. Several floors are also electrified, which felt like a needless slap in the face so early on in the episode.
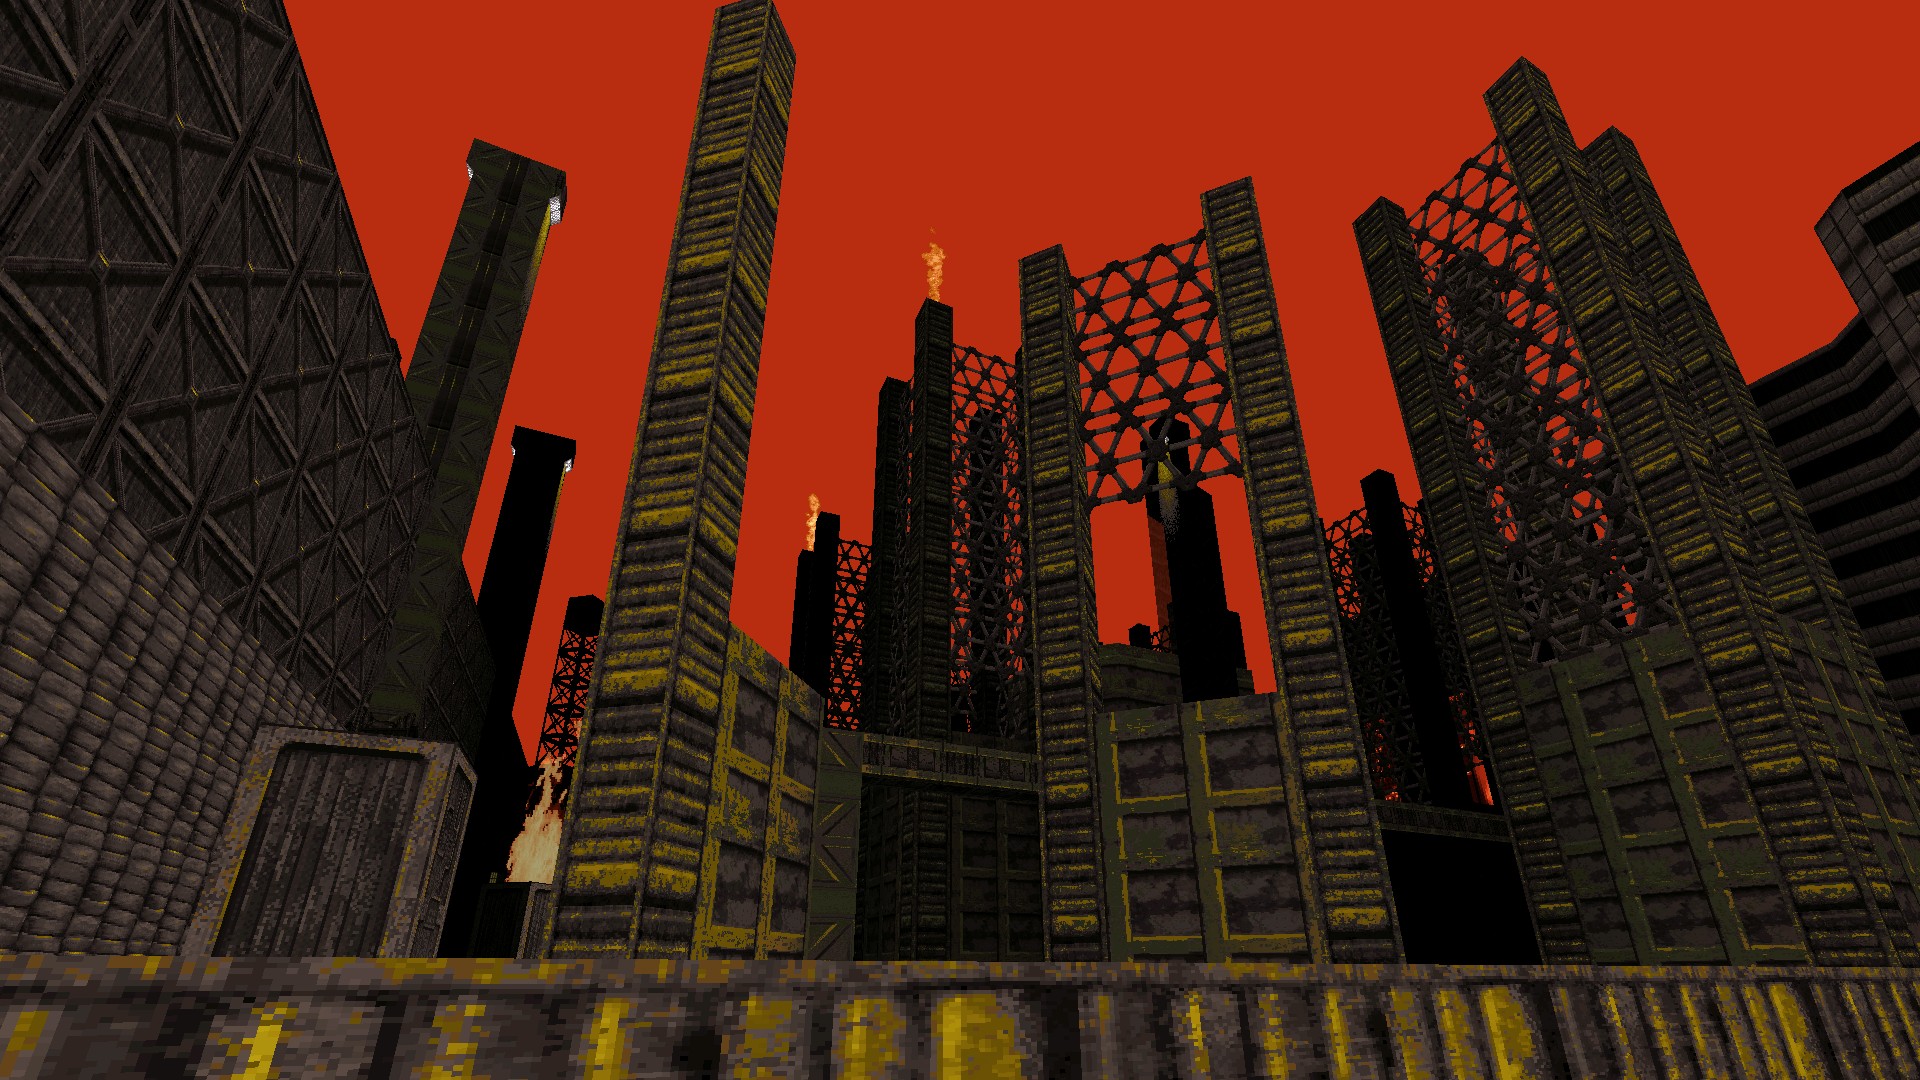
Choking City (16 minutes) is a factory zone of some sort. It's also the most impressive visually, with the backdrop reminding me of Sonic's classic Scrap Brain Zone with its polluted sky and burning smokestacks in the distance. You have a lot more space to move around than in the previous two maps. That is not necessarily a blessing though; while you're less likely to get cornered, hitscanners have little trouble finding and hitting you in open spaces, often before you even see them. At least there's plenty of cover and health available. This is also the only map in the episode that makes notable use of its vertical axis, although sprite platforms & such don't really provide much protection against the enemy - but at least it's a nice switch from the cramped horizontal spaces of the first two maps.
Square Air (7 minutes) is a lot like the second map with its hi-tech theme and circular layout. This one is much more fun though. Little things like the separating walls that divide the long corridors make it easier to evade and start figuring out a way to herd the enemy to your benefit. I found it easiest to just keep runnning in a circle, luring Battlelords into narrow corridors where they become easy prey for your weapons and even each other, as this is probably the only map where you can have some success in turning the enemies against each other. Design is simple but effective, relying on strong 3DR type lighting and tidy texturing.
Freezing Fans (24 minutes) is one of the least challenging maps, as it's relatively easy to approach Battlelord-by-Battlelord. You're given enough ammo, and pillars scattered around the place provide good cover for taking down battlelords so long as you're patient enough, resisting the urge to bite more than you can chew at a time. Midway through I found myself getting bored at things progressing so slowly. The layout is good for confronting the enemy, not so much for herding and trying to get around them. Having to confront all but the last few Battlelords one-by-one and always more or less in the exact same way turned the map into a tedious slog. Design is uninspired too with its monotonic coloring & lighting and lack of interesting details.
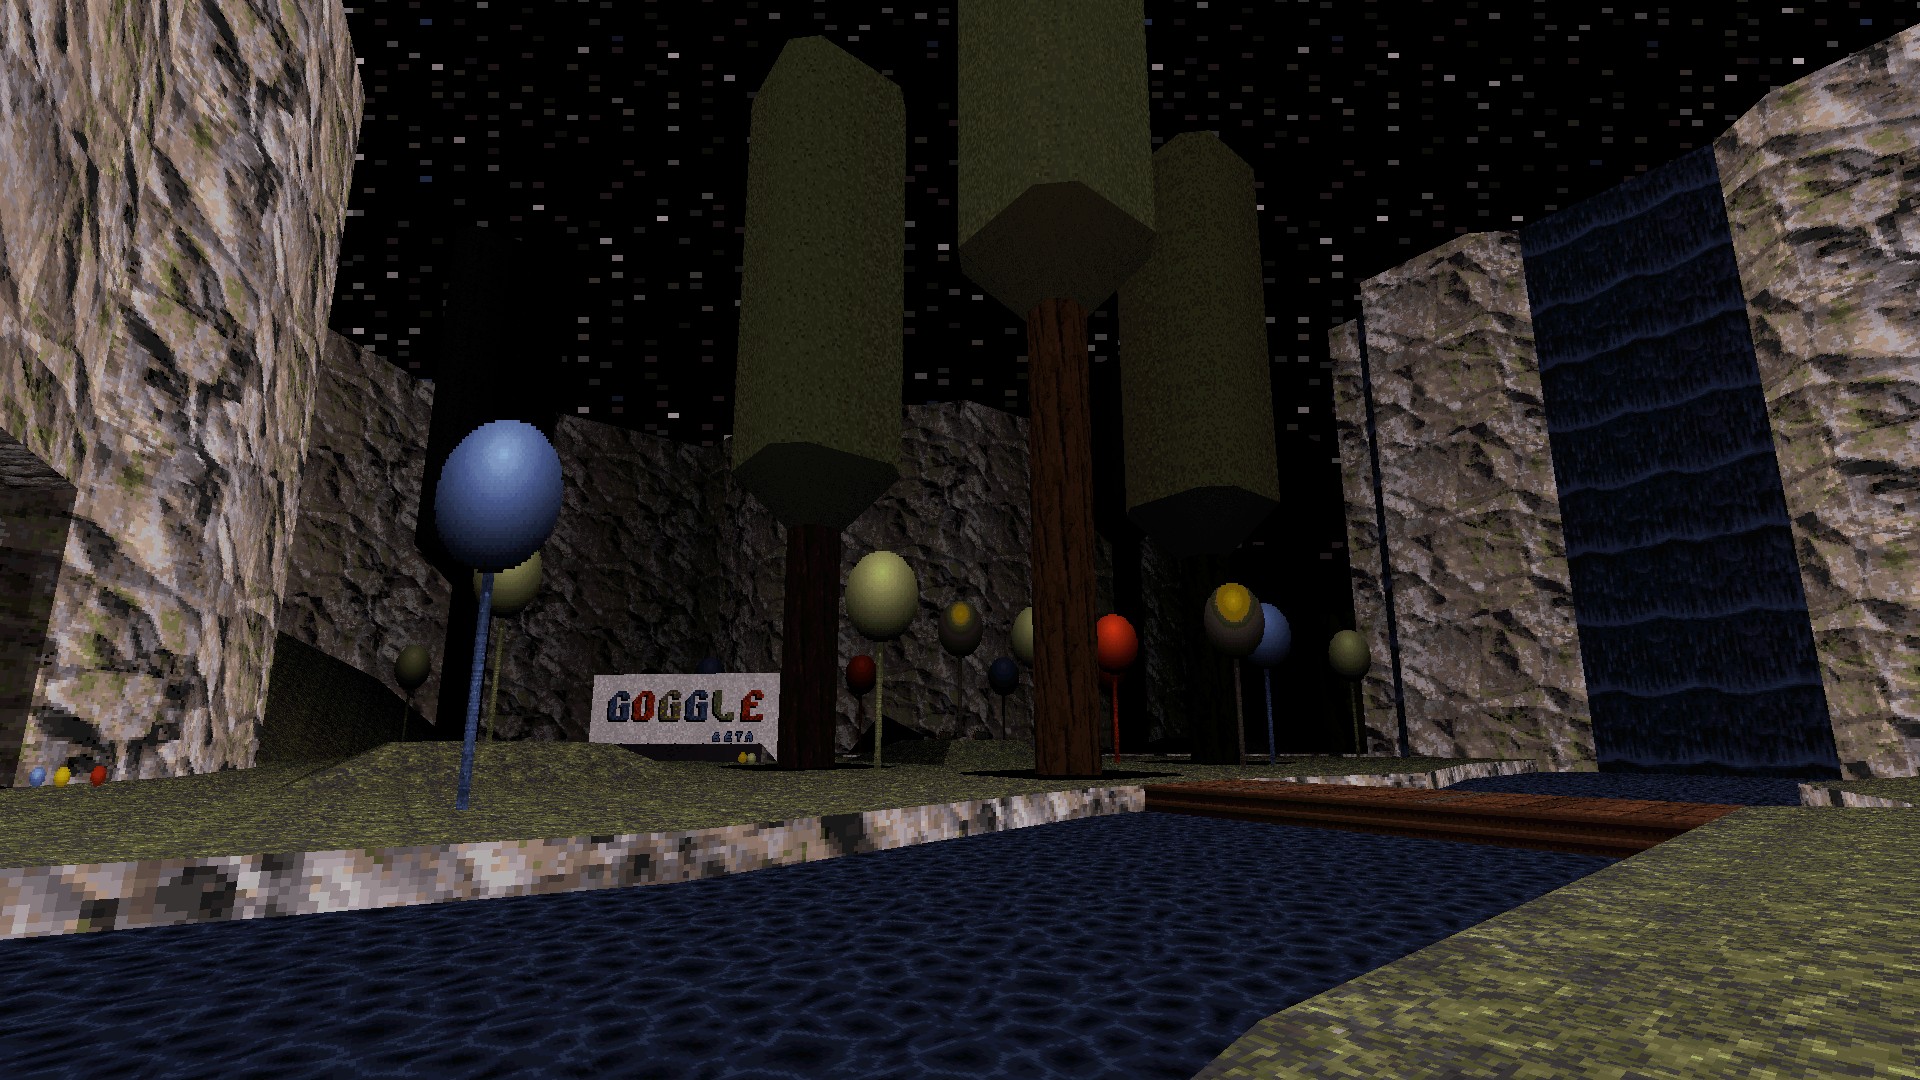
Falls and Balls serves as a short breather before the final boss battle. This is a night-time map with low visibility and weird trees (maybe it's subtle advertising for SilverballZ...). It's not overstuffed with Battlelords and there's plenty of stuff lying around to take care of things with little trouble (I did find the low visibility annoying though). Only the last open area has some potential to get trickier, but once you notice the enemy won't follow you into a nearby tunnel, you've figured out a way to make your life easier (at least so long as you're quick with your feet).
Battlelord Dies at Dawn wraps up the episode. Predictably you'll be fighting a boss Battlelord along with a dozen or so of his minions. First I attempted to use steroids (that make their only appearance in the episode here) to run past the many minibosses and open up the container in the middle housing the boss, then quickly take out the boss before the minibosses could get to me. This proved futile, as it just takes too long to take down the boss, giving the minibosses enough time to converge on your location. The real strategy here is to herd the minibosses into a single group (which is pretty easy to do given the map's layout), take them down from a distance, then deal with the boss. All in all a pretty fair and fun boss map with some nice 3DR style lighting, and my initial frustration with it was due to my poor choice of a strategy.
Conclusion: A fundamental problem with BattleDuke 2 is the same as with the first one: Battlelords are just tedious to fight against,
and giving them more hitpoints makes them only more so. With their extremely powerful hitscan weapons and eagle eyes, Battlelords are kinda unfair by design.
Still, Sanek has gotten some mileage out of them, with the episode providing a good selection of maps with varying degrees of challenge (and tedium). The
maps are an improvement over the first episode, but perhaps not a dramatic one. There are less annoyances this time around, but some issues persist.
Visibility is still occasionally an issue, and I found pipebombs and tripmines mostly a joke; maybe not utterly useless, but often simply too tedious to use
(I'd rather take something less effective but more convenient to use).
Despite Battlelords being a pet peeve of mine, I'd sill recommend trying out BattleDuke 2. It's a different kind of experience for sure and a good way to test the
limits of your patience.
Score: 8
Download: Download
Version: 1.4, 1.5
Author: Sanek